You don’t need the skills of a graphic designer or the critical eye of an art director to create a beautiful photo book. Our creator tool is easy to navigate and comes with pre-designed layouts, borders, clip art and other features that will make your photo book look professional. Below we’re sharing some design tricks from our in-house team to help you create your best photobook ever
1. Use double page spreads

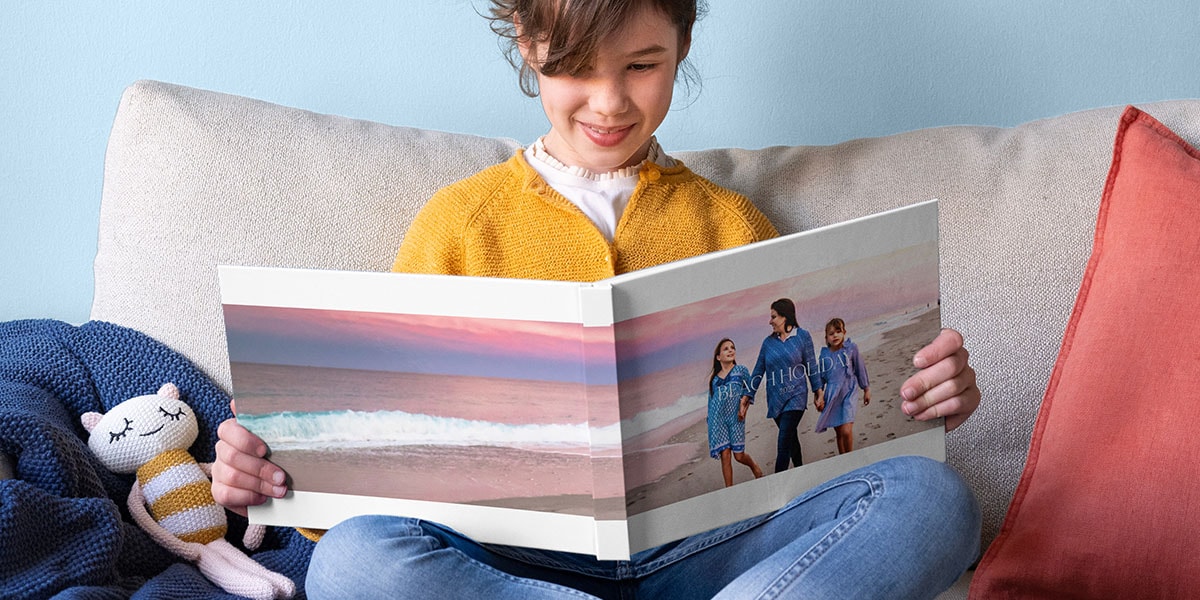
A stunning landscape photo will look best on a double-page spread. Don’t be afraid of printing your photos across two pages, just make sure that they are a high resolution. To make your photos look even better, choose layflat pages so that your photo is printed without interruption.
2. Add some maps

Don’t go overboard with extras but adding a map, especially to a travel or holiday photo book is a great way to show where you’ve been. You can even mark it with multiple locations if you were travelling around.
3. Consider your format carefully

Before you start creating your photo book you will need to choose a format. A large landscape works for most photo books because it provides plenty of space for your photos. If you’re more of a portrait photographer though and are creating a photo book full of photos of people, try a large portrait book. The larger the book, the more opportunity you’ll have for showing off your beautiful photos.
- ‘If I get back from a holiday and find I have a whole camera roll full of street photography I will often create a portrait photo book. It shows off photos of people better.’ Alexandra, Graphic Designer at albelli
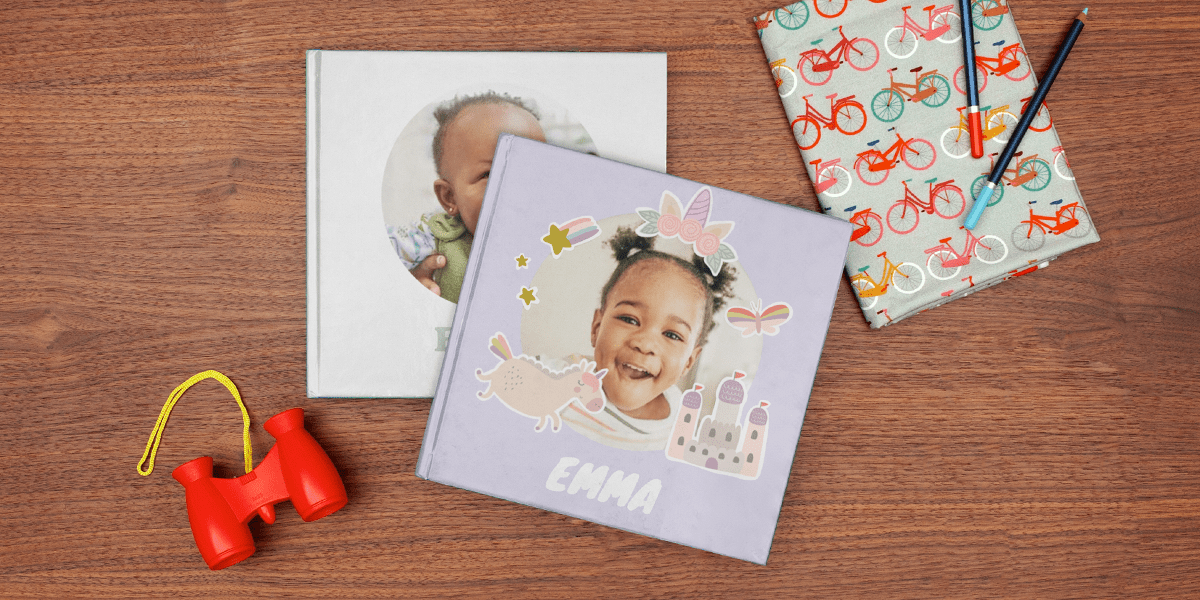
4. Create a photo book series

Turn your photos into a series of photo books. Every time you go away or attend an event, create a new photo book to add to your collection. If you create each book with a similar aesthetic they’ll look cohesive in your home. For example, use a consistent naming system and print it on the spine. Or choose a linen cover and use a different colour for each photo book. You can also save your favourite layouts in the creator tool, so each photo book you create can have the same layout inside.
- ‘Every time I travel I create a photo book using the same cover design and template each time. That way they make a coherent series on my bookshelf.’ Erica, Graphic Designer at albelli
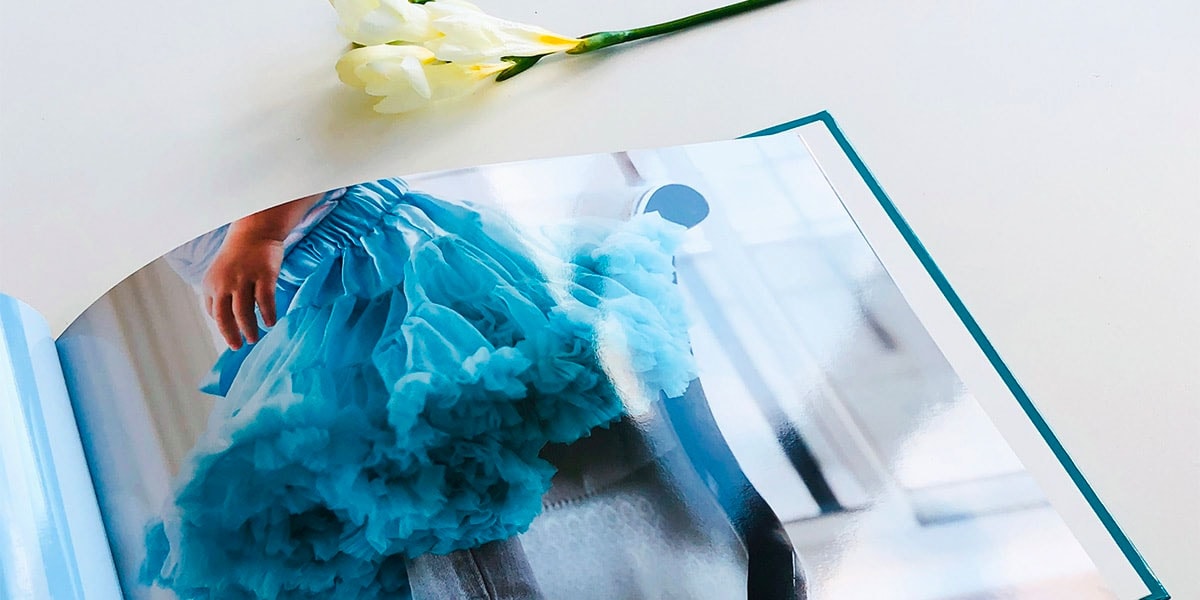
5. Don’t be afraid of white space

It’s a well-known fact that graphic designers love white space. And that’s because it makes things look fresh. So don’t feel like you need to cover every page with photos. Utilise white space and borders around photos to make your photo book look professional.
- ‘I love white space. It makes everything look better.’ Morgane, Graphic Designer at albelli
6. Be aware of colours

This might mean coordinating similar colours or featuring contrasting hues on a page, just try and be aware of the colour palette of each spread. If you have a selection of black and white photos they will look good on the page together. Similarly, a selection of pink-hued sunset photos are perfect for printing side by side.
7. Keep it simple

Your photo book doesn’t have to be a work of art. In fact, the simpler the better. Some well-chosen clip arts and borders will be much more effective than using them all at once on a page.
- ‘My favourite photo books are the simplest ones. I tend not to overcrowd mine with too many photos or features and just choose a couple of clip art to use throughout the book.’ Iullia, Graphic Designer at albelli
8. Try to tell a story

If your print your photos in chronological order your photo book should tell a story. Feature photos from the beginning, middle and end to give your photo book a narrative ark. Your photo book can have up to 96 pages so don’t be afraid of adding more.
- ‘When I go on holiday I start taking photos on the train to the airport and don’t stop taking them until I’m on the plane home. I love telling stories in my photo books.’ Stella, Graphic Designer at albelli.
9. Only use your best photos

It can be tempting to print every single photo in your photo book. But this will look messy. Go over your photos with a critical eye and only choose the best ones to feature in your photo book. They should also be high resolution so there’s no chance of blurring when you print your book.
- ‘Sometimes choosing my best photos can be tricky because I often feel attached to all of them. But I step away and cast my eye over them trying to think like a photographer. My books always look better when I’m a bit more picky with my photos.’ Villy, Graphic Designer at albelli.
10. Play around with editing

This includes everything from adding filters to your photos to cropping them. Use a photo editing app to make your photos look their best and this in turn will make your photo book look even better.
- ‘I use a few different tools for editing my photos before putting them in my photo book. It makes the whole book seem more professional.’ Gabriele, Content Specialist and Photographer at albelli
So there you have it. Our 11 tips for creating a professional-looking photo book with some words of wisdom from graphic designers. But if we had to give just one piece of advice, it would be to enjoy the creative process. Read our photo tips and other creative tips for more inspiration. And share this blog on social media using the icons below to inspire your friends and family too.