How to take amazing first day of school photos
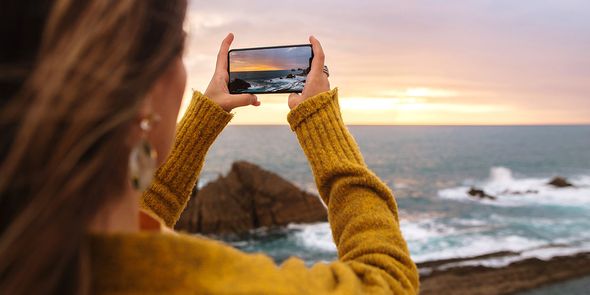
How to take the best photos this summer
How to take passport photos using your phone
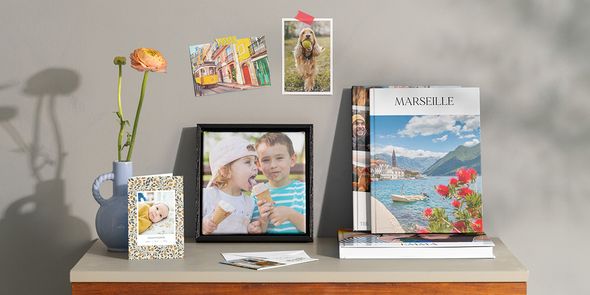
Our team’s favourite childhood holiday memories
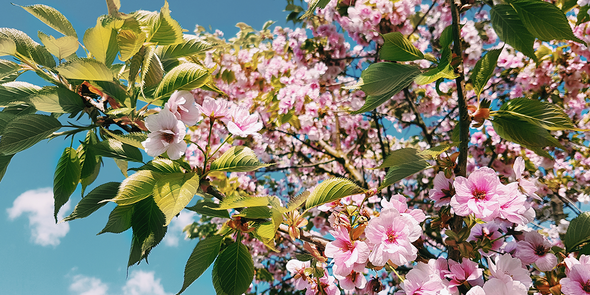
9 photography tips to make your spring snaps stand out
The 10 best cherry blossom spots in Europe
10 of the best free photo and video editing apps you should be using
How to take great Christmas photos this year
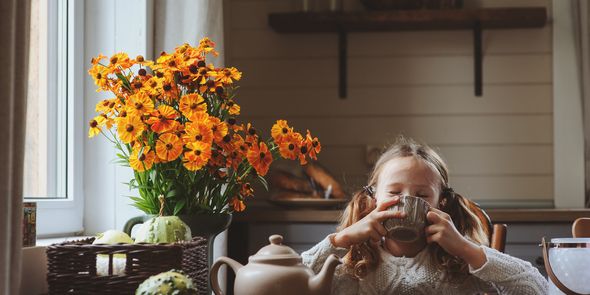
10 autumn photography tips
How to take great beach photos this summer
What kind of holiday photographer are you based on your star sign?
Ultimate wedding day photo checklist
10 tips to take great photos on your phone
5 indoor photography tips to instantly improve your photos