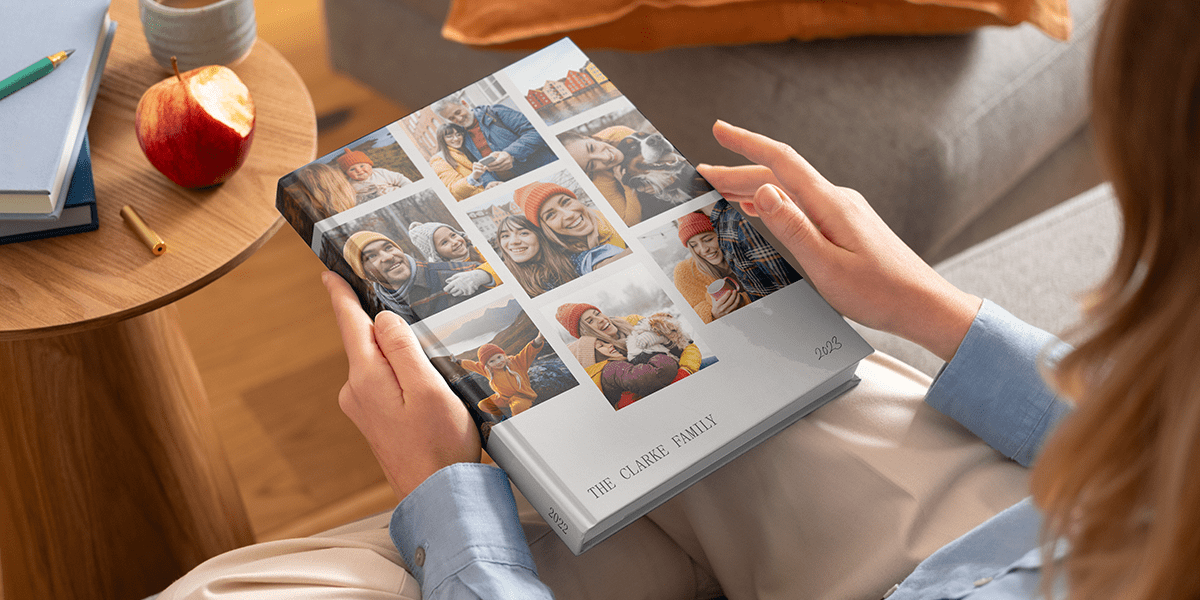
City trips and summer travels are full of iconic photo moments, from savouring a cool gelato outside the Colosseum to dancing in the rain in front of the Eiffel Tower. But what do you do with all of your fantastic city trip photography once you return home? A customised photo book is a great way to relive your best travel memories. And for those looking to go the extra mile, merge your mementoes, fun facts, and fantastic imagery into a personalised travel book that you can look back on for years to come.
Whichever way you decide to pay homage to your whirlwind weekend or a whole summer of exploring, creating your own personalised travel photo book couldn’t be easier with bonusprint.
1. Start by organising your photos

The first step to creating your travel photo book is selecting and organising your photos. Easily upload your images to the bonusprint online, desktop, or on-the-go editor, and decide how you’d like to present your trip. Arranging your images in chronological order is a good start if you want your photo book to explore every detail of your journey from start to finish. If you’re looking to create more of a personalised travel book, organise your images into landmarks, must-see districts or areas, people, food, and any other category you want to publish.
2. Caption it

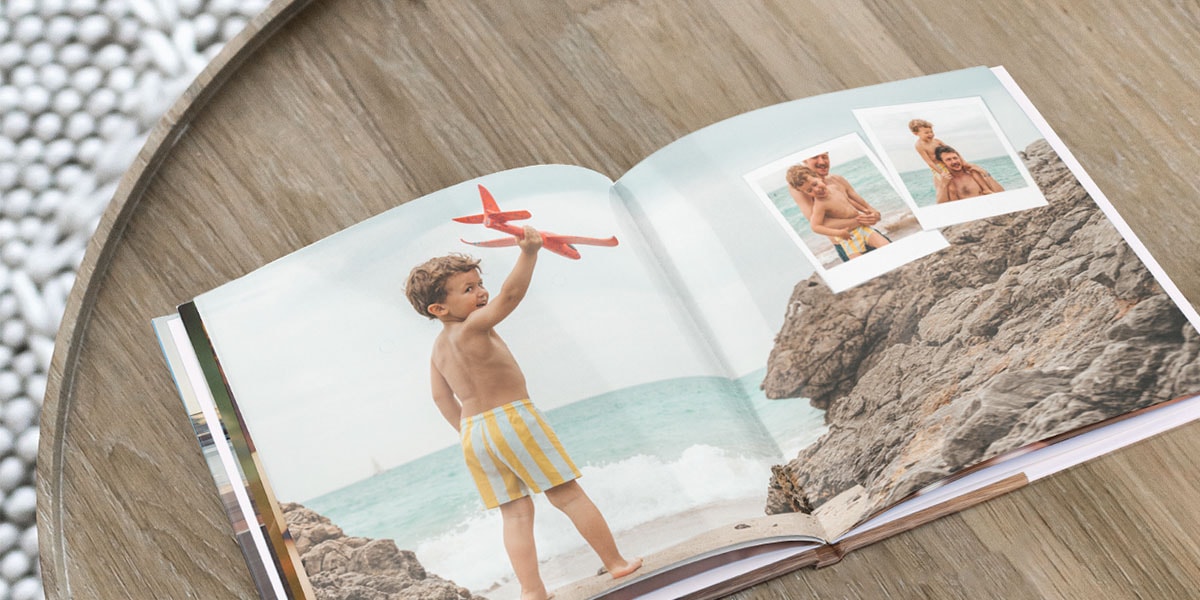
Adding captions to your images is a wonderful way to add a bit of personality to your photo book and detail all the funniest, impressive, or most heartwarming moments from your journey. Write short and to-the-point captions of who (or what) is in the picture, as well as the date and the location where you took it.
If you’re feeling more creative, go into more detail and retell the story behind the image. You don’t need to be a professional writer to share your story. If you find yourself getting lost for words, try using a funny quote that was said at that moment or write out a couple of song lyrics that resonate. Share whatever you felt when the photo was taken, and remember it for years to come.
3. Map it out

Adding maps to your travel photo book is simple with the bonusprint editor. Simply type your destination or journey into Google Maps, and take a screenshot of the map. Now click on the insert tab in the editor, upload your screenshot, and that’s it!
A great tip when using maps in your photo book is to use it as a visually appealing way to introduce any new section of your journey. So, if you spent a couple of days in Rome before jumping on the train to Milan and then Venice, use a full page to include an image of your route. If your journey was a multiple-destination adventure, you could even start your photo book with a double-page spread of the map. Either choose to present the map on its own or add your pictures and funny captions on certain points along the journey. Do it your way.
4. Add some extras

The wonderful thing about creating your own customised travel photo book with bonusprint is the number of added extras you can make the most of. Our travel-themed backgrounds offer something for every city trip you can think of – including specific options for some of the world’s most popular destinations from Amsterdam to New York, Barcelona and Thailand.
From colourful and quirky frames for your photos to a whole range of travel-related clip art to sprinkle throughout your creation, you have the opportunity to make your photo book truly your own. Play around with 100 different page layouts and have fun with the process.
5. Include fun facts

No matter what kind of trip you’ve taken this year, travel is filled with learning experiences. Whether mastering the challenge of the London Underground for the first time or learning the history behind that famous landmark – we often come home brimming with fun facts. Your personalised travel photo book is a fantastic place to store all of your new bits of knowledge. Simply write your fun fact as a caption at the side of your chosen image. Make sure you do a quick Google search to verify any dates or names – or if your memory is a little hazy!
6. Food, food, food!

Whether you’re a big foodie or not, our culinary experiences make up a big part of our travel memories. Dedicate a few pages to detailing some of your journey’s most impressive or surprising foodie moments. Did you try out a local delicacy that you’ve never seen anywhere else? Or perhaps you had a taste of a tried-and-tested fave with a local twist. Whatever it is, include your best food moments in your photo book.
A top tip for those dishes that were just simply out of this world, do a quick recipe search and spice up your travel photo book with an ingredients list to accompany the image of your favourite foreign dish. This is a great way to remember what made this moment so delectable and inspire you to give it a shot yourself when you’re back home.
Every journey is full of photo opportunities, and most of us can admit that our camera rolls are stuffed to bursting with great images that we very rarely look back on. Make the most of the beautiful memories on your phone or computer, dive into our range of special frames, graphics, and travel themes and get creating your very own bonusprint travel photo book now.