As promised in our last blog, we’ve pulled together a few tips to help you organise all your photos. Whether your pics are in print format or you’ve got loads of images saved in different places online, the steps below can help you tidy up your photos in no time!
Good luck and happy organising!
Step 1: Go digital
The first thing you need to do is get everything into a digital format. (If you already have everything as digital files, then great – move on to step 2!)
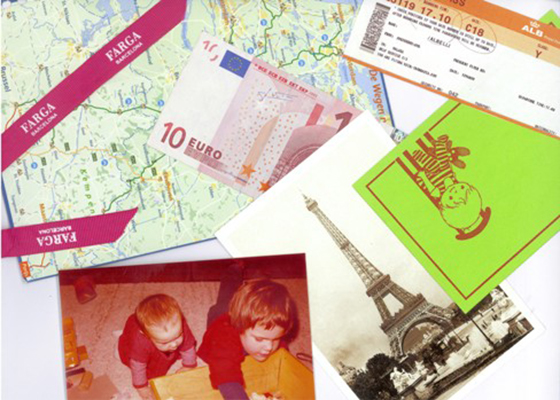
Start by scanning old prints and other mementos. If you don’t have easy access to a scanner, you can always use your phone or digital camera to take pictures of your pictures – we know that sounds a bit crazy, but it gets the job done!
Next, import your images from your phone, digital camera or tablet to your computer. (If you’re not sure how to import your photos to your computer, take a look at the website of your phone/camera/tablet provider — they’ll probably have some info on this.)
Use a naming convention to save your photos – we like to use the date (Year/Month/Day) that the photo was taken, plus a short description like, “Italy Holiday”.
TIP: Most smartphones have an option to automatically upload your photos to an online cloud system on a regular basis, turn this on and you’ll be a step ahead next time!
Step 2: Create folders
Create folders by year (this works especially well if you’ve also saved your photos this way). Then within each folder you can create subfolders based on the month the photos were taken or the activity or theme of your photos. Create as many subfolders as you like – the more detailed the folders, the easier it will be to find a specific photo later on!
For example, your folder structure could look something like this: 2015 –> February –> Valentine’s Day.
Likewise create a folder for the random pics you have that don’t fit well in the other folders you’ve created. This is also a good place to put your lower quality pics that you might not use but don’t want to delete.

Step 3: Store and secure your images
You’re nearly there… Last but not least, make sure your treasured photos are stored in a secure place.
Leaving all of your images on your computer’s hard drive can eat up space quickly and can be risky if your computer gets damaged. Consider getting an external hard drive to save your images on instead or to use for backup.
You could also keep a copy of your images a in a cloud system online like Google Drive or iCloud. This way they’ll be available in case other systems fail.
TIP: Once you have everything set up, get in the habit of downloading and organising your images on a regular basis – then you’ll never have to do a big clean up again!
All organised? Keep an eye out for our next blog with tips for creating something stunning with your photos!