How to make the perfect baby photo book
By Bonusprint on 21 April 2023
Creating a baby photo book is the perfect way to re-visit all the moments that went by in the blink of an eye. Find everything you need to know from bonusprint with plenty of ideas and inspiration.

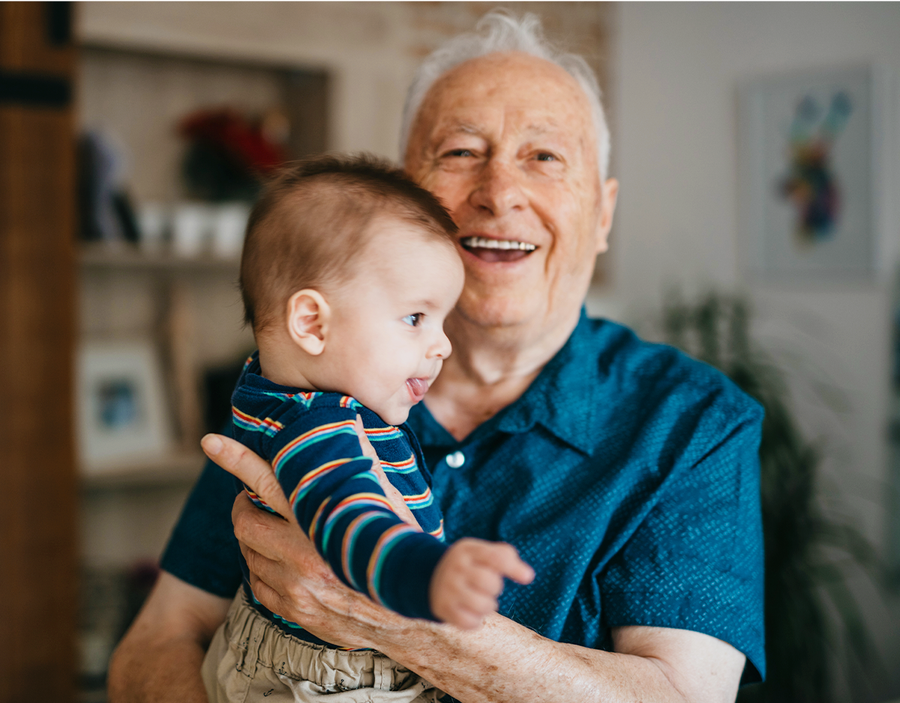
Having a baby is a joyous occasion but also one of the busiest times in anyone’s life. Being a new parent can feel overwhelming at times, so it’s no wonder that, years later, we might not remember as many early moments as we’d like.
A bonusprint baby photo book is the perfect way to relive those memories, as well as being able to share them with relatives and even your children themselves in years to come – a time capsule to hold all the priceless moments that flashed by in an instant.
No two birth stories are the same. No two children are the same (not even identical twins!). And no two bonusprint baby photo books are the same either, as our easy-to-use online editor will enable you to create something totally unique. Here, we’ve put together a collection of blogs to give you ideas about what to include in your photo book and how to get the most out of the process from beginning to end.
Capturing moments in time
Clearly, the focal point of any photo book will be the pictures, so it’s important to make sure you’ve got a great selection to choose from. There are so many moments you could capture in your baby book, especially those firsts – baby’s first smile, baby’s first bath, even their first taste of solid food (and the face they make as a result).
However, all of this can be easier said than done. Babies don’t understand how to pose, and they’re not so good at following instructions either. A great tip is to make sure that the person taking the photos gets down to their level, engages with them and, above all, remains patient. Baby photography shares that last element with wildlife photography for sure and is something which many professionals take years to master, but we can help you get started. For some more great pointers, check out our article on 9 fabulous tips to help you take beautiful baby photos.
What to write in a baby book
Each pregnancy journey is different, and a baby book is a great place to record yours.
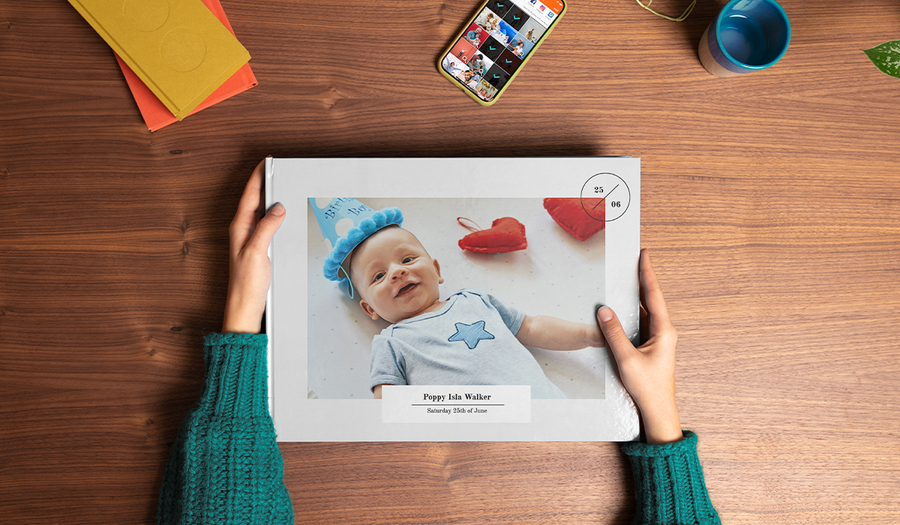
The option to add text to your bonusprint photo book allows you to record as little or as much as you want, from straightforward stats to explanations of how things happened and how you felt at the time. The wording in your photo book will give your child a memento of your love for them from the very beginning and it’ll tell the story of how they came into your world.
And you really can start at the very beginning. Through a series of images and notes, you can show weekly bump growth, baby scans, baby showers, and if you are going through an IVF journey, you can even show your child what they looked like from the first cells as an embryo.
Then, as they grow, you can chronicle special occasions with both words and pictures, showing favourite toys, early relationships, and all the little mannerisms and gestures that make your child an individual.
If you’re stuck for ideas, we’ve come up with this blog post to spark your creativity.
Keeping memories present
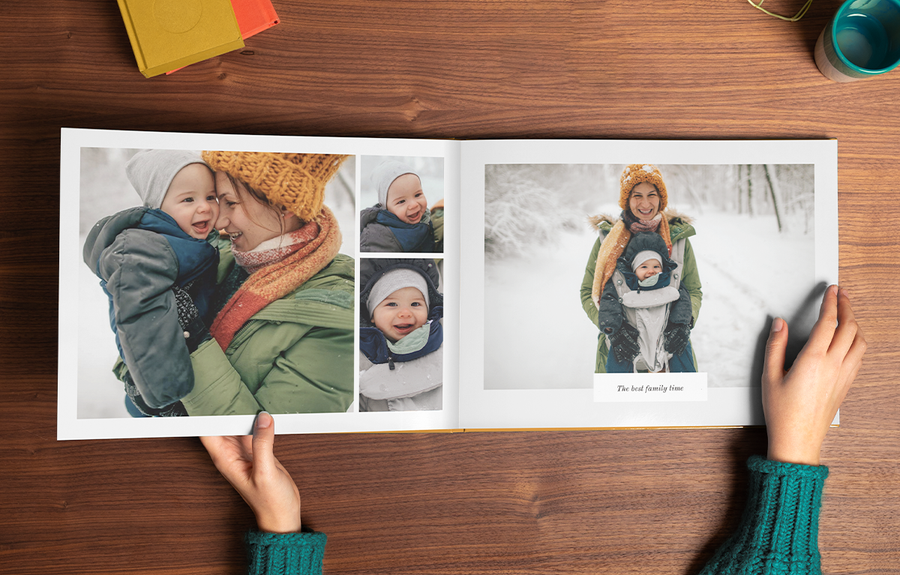
We’re always snapping away with our smartphones but having so many pictures on our camera rolls can mean that some moments get lost. When everything’s dotted around in an endless scroll of shots, finding those early baby memories you love can be a time-consuming task, which not many of us have the patience for – especially when there’s a little one on the scene.
This is what makes a baby photo book the perfect way to keep all your favourite memories in one place. It gives you the ability to pick the collection of photos up and look at them whenever you choose. And because we practically all live on our phones, there’s something lovely and timeless about bringing moments to life through words and pictures on paper.
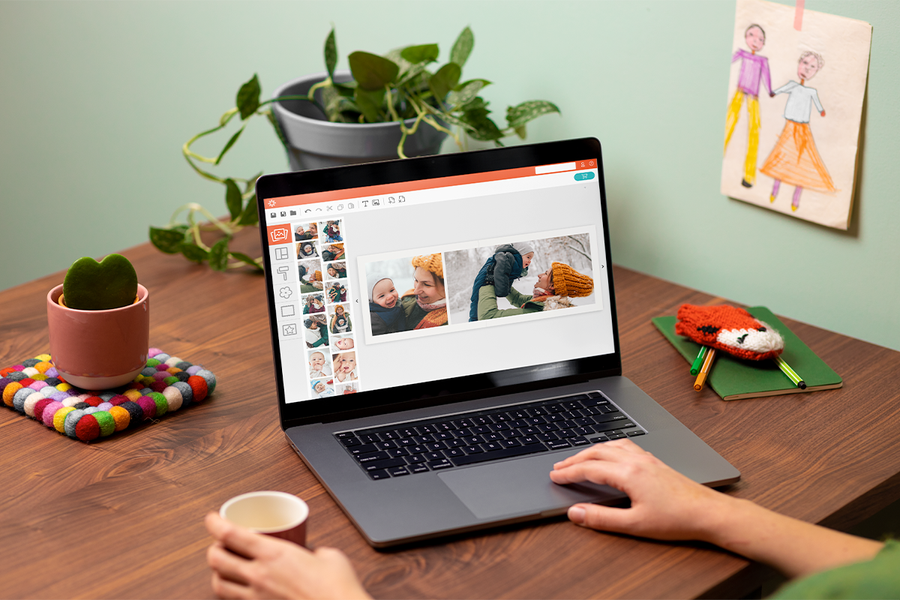
We’ve made the creation process a piece of cake with fully customisable albums and options for sizing, number of pages, cover styles, and so much more. To show you just how easy it is with bonusprint, we have a simple five-step guide that takes your baby photo book from start to finish.
Making more memories

Making a photo book full of memories can become a memory within itself, especially if your friends and family contribute to its creation. Get the proud grandparents to take part, ask aunties and uncles to chip in, and get the big siblings to help too. You can collect photos together and ask everyone to share stories and anecdotes, so when your baby grows up, they’ll know how loved they are.
We’ve put together an article with five great pieces of advice about making a brilliant first baby photo book, how to personalise it exactly the way you want it, and how your friends and family can get involved too.
Share your child’s journey as they grow
A photo book is a great way of bringing a family closer together even if circumstances and geography get in the way. Whether relatives live far away in the same country and can’t make regular visits or they’re overseas, a baby photo book each year makes a perfect gift for any family who are missing that connection. Through regular photo books, relatives will be able to watch nieces and nephews, grandsons and granddaughters grow and develop through your photos and stories.
They’re great for building a library of photo books for your own collection too, so you can look back on baby’s journey when they’re not so little anymore, and maybe pull out a few embarrassing photos too.
To get started, take a look at this blog with 11 adorable ideas to document your child’s development.